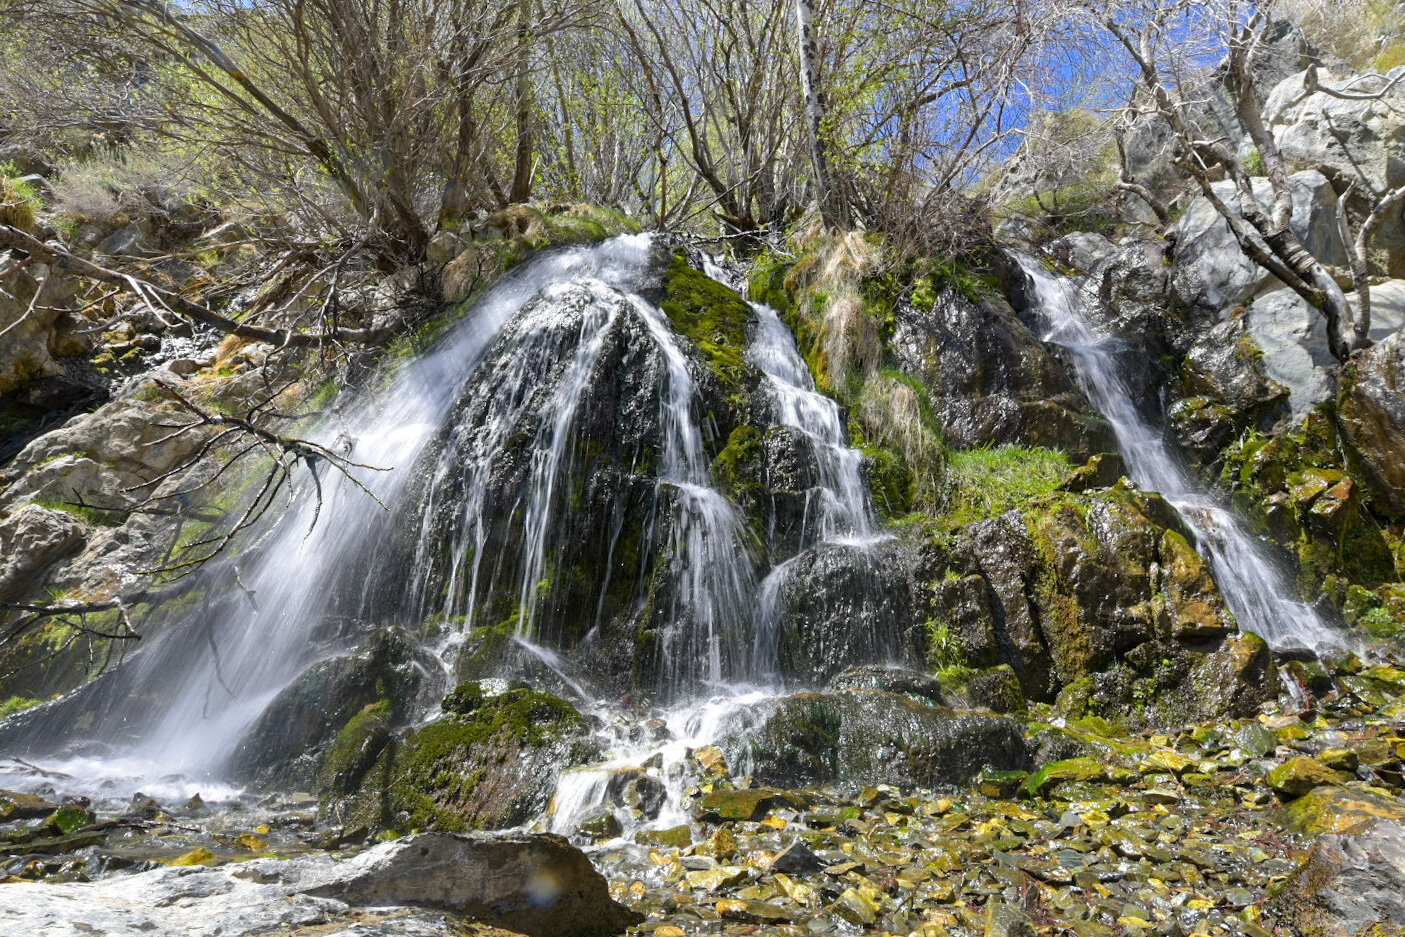
Hunter Creek Falls: An Epic Hike Just Outside Of Reno
Up until fairly recently, people would generally associate Reno solely with gambling, bars, and being the (much) smaller sibling…
5 minute read | Contains affiliate links
Until fairly recently, people would generally associate Reno solely with gambling, bars, and being the (much) smaller sibling to Las Vegas.
In recent years though, Reno has been earning a reputation for being more than that. You may not realize it, but Reno is an outdoor recreational haven.
Activities like skiing, hiking, white water rafting, and camping can all be done in Reno. This article, however, will focus on Reno’s most popular hiking trail; Hunter Creek Falls.
This trail is spectacular! It parallels Hunter Creek the entire way through rocky terrain, before taking you through crisp-smelling pine trees and terminating at the namesake thirty-foot waterfall.
Despite living near Reno, I’ve only just recently hiked this gem. If you haven't, there’s a few things you should know before hitting the trail. Let’s get into it!
Quick Stats
Location: Reno, Nevada
Fees/Permit: None
Open: April through October
For: Hikers, Mountain Bikers, & Equestrians
Parking: Large, paved lot.
Restroom: At the trailhead
EV Stations: None
Drone Use: No signage stating you can't
Difficulty: Moderate
Time: Three to four hours for most
Mileage: 6.4 miles, RT
Popularity: Heavily trafficked
Elevation Gain: 1,023 ft
Trail Condition: Maintained and easy to follow
Main Feature(s): 30-foot waterfall
Campground: None nearby
Pets: Allowed on leash
Special Notes/Hazards: 1) Sun exposed throughout the majority of the trail. Bring lots of water and sunscreen. 2) Several heavily rocky sections that pets and small children may have a hard time navigating without assistance. 3) A good portion of the trail is narrow along a steep ravine.
Our Visit: June 2022
*Please practice leave no trace principles and keep to the trail*
Trailhead and Parking
Getting to the trailhead for this spectacular hike is easy and straight-forward. It’s just 20-minutes from the downtown area and midtown at the end of a beautiful housing development called, “Jupiter Ridge”.
*Tip: Simply punch “Hunter Creek Falls trailhead” into any GPS system for easy directions
You’ll arrive at a well maintained parking lot large enough to hold a few dozen vehicles. GPS directions will try to take you to a dirt pull-out but this isn’t it. Go a little further up the road and take the first right out of the roundabout. The lot will be right there.
In it, you’ll find trail/area information signage, a picnic table, trash cans, and a well-kept restroom. If you must, utilize before you head down the trail as there are no other restrooms beyond this point.
The Trail
Facing the restroom, you’ll find the start of the trail on your left (pictured above). On it, you’ll descend a short distance to Hunter Creek before coming up on a wooden bridge.
Note: If you’re an Equestrian, there’s signage asking you to cross through the creek (there’s an opening to the right) instead of crossing the bridge.
After crossing the bridge, you’ll see a split. To continue to Hunter Creek Falls, go left. You’ll be hiking parallel to the creek along this short stretch.
There are many spur trails leading you to the waterline. Throughout the entirety of the trail the creek is covered by trees, providing a plethora of shade.
Soon, you’ll begin to ascend above the creek and tree line. Here, the trail narrows, gets rockier, and is completely sun exposed. It maintains all three of these elements (for the most part) until you get closer to the waterfall.
At the top of your first ascent, look to your left for a rocky ledge and take in the view ahead. You’ll get a glimpse of Downtown Reno in the distance.
From this point, the trail gets VERY rocky. There’s more than a few sections of trail that are nothing but loose rock (pictured below). This is where pets and kids may have a hard time navigating.
On the plus side, here is where the scenery around the trail moves into a proper wilderness setting as you put the view of Reno behind you.
If you’re here at the right time in the season you’ll see lots of flora and fauna, along with pine trees and mountains that still have snow on them.
As stated at the beginning of this post, the trail is very narrow. If you’re hiking in a group, you’ll need to hike single file throughout the majority of it.
On the way up and back, there were a few instances where finding a safe spot to stand as another hiker passed was quite the challenge.
It’s not impossible or inherently dangerous by any means, but it’s something to be mindful of. How hikers get around Equestrians on this trail is beyond me.
Pictured above, you’ll see the beginning of the most intense part of the trail. Up until now, it has ascended fairly evenly. Here, it’s a semi-sharp ascent. This is about two miles into the hike.
Personally, I wouldn’t rate it as difficult. It will, however, take the breath out of most people (it did to me). Take your time, catch your breath when needed, and you’ll get up there just fine.
Hunter Creek Falls
You’ll know you’re getting closer to the waterfall when you enter a thick section of pine trees and re-align with Hunter Creek. There are two final spots on this trail I felt should be pointed out as it isn’t entirely clear which direction to go.
Every other blog post or review I read of this trail stated it was well-signed. This is emphatically false. Past the bridge at the beginning, I didn’t see a single sign. So I’ll do my best to help you avoid going in the wrong/least convenient direction.
The first one you’ll come to (pictured above) seemingly continues forward. When you come up on this, those two boulders in the picture will be on your right. Straight ahead, you’ll both see and hear the creek.
DO NOT continue straight. Instead, turn right, in between the boulders. The one going straight isn’t the official trail. After turning right, the trail becomes obvious again.
*Tip: Essentially, if you come right up on the creek, you went too far.
The second one (pictured above) presents itself about a quarter-mile after the right turn you made. Here, you have two options:
Option #1: Continue straight and arrive at the waterfall shortly. However, on this side of the falls, there’s nowhere to sit, you won’t have a good view and you’ll need to cross a log to get to the other side.
Option #2: Go left and cross the creek via the make-shift bridge made from sketchy tree branches people randomly found. Shortly after making it to the other side, you’ll arrive at the falls in an area with a plethora of seating, shade, and space.
I recommend taking the second option. Worst case, you could cut straight through the creek. I estimate this part of the creek was about half shin deep when I hiked it (early June).
*Note: There used to be a solid bridge here for people to cross but it was destroyed a few years ago by heavy water flow and debris.
Regardless of which direction you take, you’ll soon arrive at the beautiful Hunter Creek Falls. If you take my recommendation and go left, you’ll come to a large area with lots of seating and shade.
When I was here, there was a tree branch that collapsed and was partially blocking the view of the first section of the waterfall. Still an awesome view, regardless.
Stay as long as you like. Get all the pictures you can. When you’re ready, simply turn around and head back in the same direction you came.
Have you hiked Hunter Creek Falls before? If so, did you find the trail pretty easy or more towards the moderate/difficult side? If not, do you have plans to hike it now or have any further questions? Shoot us a note in the comment section below!
Please support our website by sharing this article with your family and friends.
Take An Easy Hike To King’s Canyon Falls in Carson City
Located in Carson City at the end of King’s Canyon road, this 25-foot cascading waterfall offers families and solo hikers alike easy access to a natural oasis
Located in Carson City at the end of King’s Canyon road, this 25-foot cascading waterfall offers families and solo hikers alike easy access to an oasis away from the hustle and bustle of downtown.
We have been here numerous times and have almost always had the falls to ourselves at least part of the time. It is known mostly to locals, so your chances of not having to deal with hoards of tourists are decent.
If you’re planning a trip to Carson City or Reno, we highly recommend adding this place to your list of must-do activities. Below, you’ll find the information you’ll need for your visit.
The Trailhead
Getting to the trailhead from the downtown area is straightforward and simple. From the capital, you’ll do the following:
Turn onto East Musser street
Turn left onto N. Division street
Turn right onto W. King street
Continue on King’s Canyon road for about two miles
Keep left to stay on King’s Canyon road for about a third of a mile until you hit the dead end.
At the dead end, you’ll see a small dirt lot ahead of you with informative signage on both sides. This is the lot you’ll use. It can comfortably hold around 6-8 vehicles but if it’s full, you can simply park on the side of the road.
After you park, you’ll see a dirt road heading off to the left and a set of stairs leading up to some signage on your right. You’ll want to take the latter as that’s the most direct route to the falls.
You’ll also want to take note that this trail is for hikers only. Equestrians and biking are not permitted. If you’re looking for a trail that can accommodate one or both of those activities, check here.
Be sure to stop at the sign and read about the fire that took place in this area in 1976 and the resulting deaths of three Firefighters who bravely fought it. There’s a memorial plaque on the left of the trailhead listing the names of those of perished.
The Trail
As stated in the title, this would be considered an easy trail just based on length alone. From the trailhead to the falls, it’s just about a quarter mile over just two quick sets of switchbacks.
Don’t be fooled, though, because it is deceptively steep in some sections. It isn’t hard, but if you’re not in decent shape or you’re not used to the elevation, you’ll definitely feel it.
Along the trail you’ll see sporadic signs asking you to remain on the trail and not cut through. It may be tempting in some spots but please obey the signs and stay on the trail. There’s been a lot of effort in recent years to restore the area.
As you near the top of the trail you’ll be rewarded with sweeping views of Carson Valley below. This view is also an indication that you’re close to the falls and that the “hard” part of the trail is over with.
Also around this part of the trail is where you’ll see the junction (on your left) that leads to the 1.8-mile North Kings Loop. This trail goes over and around the falls, not to it. So you’ll want to continue straight on the trail.
The Falls
As you turn the corner into the canyon, you will run right into the falls. In fact, like most waterfalls, you’ll hear it before you see it. As you arrive, you’ll notice boulders off to the left that make for the perfect spot to get off your feet.
The falls flow year round, but spring time is when it’s at its best while getting reduced greatly in the fall. Winter is the one season we haven’t been up here but from what I hear, there is water flowing and the trail, while snow covered and icy in some spots, is still accessible.
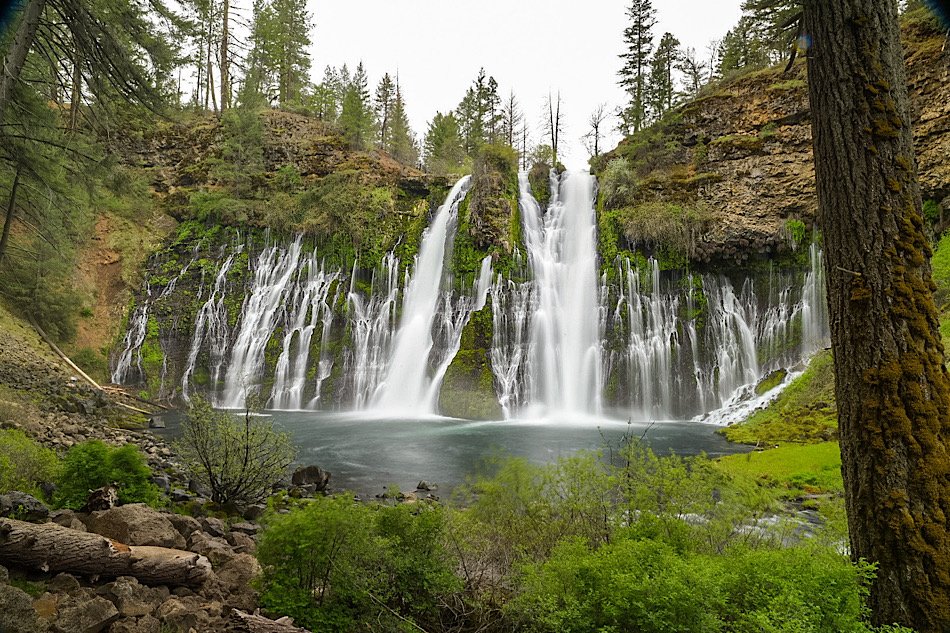
READ ALSO: Your Complete Guide To Visiting Burney Falls
If you’re here during a particularly heavy flow, the pool at the base of the falls will be around ankle deep, at best. Prior visitors have set up rocks to step on to get across to the other side so you can avoid stepping into the water.
If you’re feeling particularly adventurous, there are boulders off to the right of the falls that you could use to scramble up to the top. From what I hear, there are small cascades you could check out up there. We have yet to do this so I can’t vouch for it, unfortunately.
Take as long as you like to hang out. People will come and go but if you’re patient, chances are good you’ll have it to yourself at some point. When you’re ready, simply turn around and head back in the same direction you came.
On the way back, you’ll again be presented with the opportunity to extend your hike via the North Kings Loop. This will add 1.8 miles to the overall hike. This is something I plan to do on my next visit so I’ll be sure to update this post when that happens.
Conclusion
We hope you’ve found this article useful for planning out your adventures. If you enjoyed it, please support us by sharing this article with your friends and family on Facebook, Pinterest, or your favorite social media site.
You can further show your support by staying on and reading one or more of the related article above. You can also subscribe to our newsletter below. Thanks!

